Although people have been bikepacking for many decades, it seems that nowadays you must have a $2000+ state-of-the-art bike to do so unless you are a bike mechanic. Well, that’s definitely not true! Today I am going to show you a couple of replacements and upgrades that won’t cost you an arm and a leg and will make your regular bike perform in your bikepacking adventures just fine. Moreover, these simple upgrades can be done with minimal tooling and by someone with no knowledge of bike mechanics.
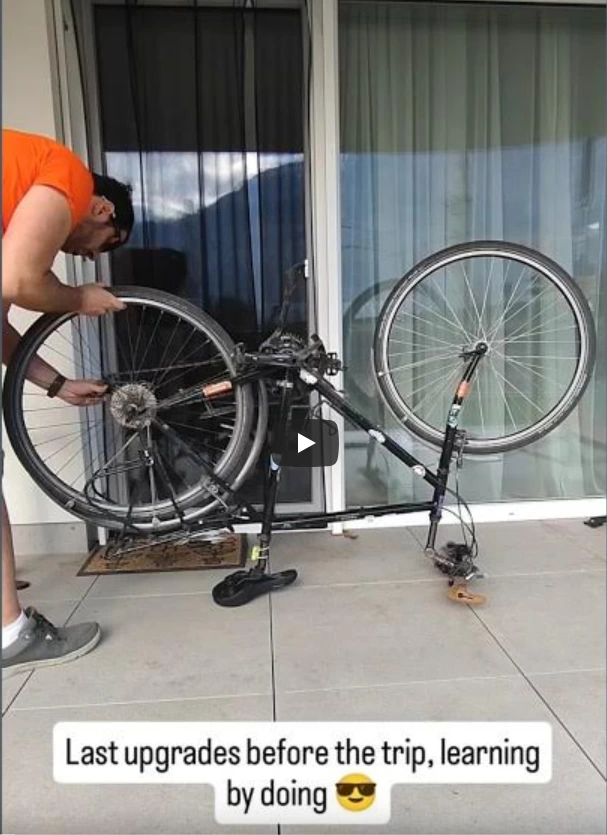
Everything I am going to show you has been done by myself on my bike for my upcoming bikepacking adventure in a couple of hours and without much previous knowledge. You can see me hacking my bike on my first YouTube short:
For every section, I have added some links to the tools you will need, the parts I would suggest based on my own experience, and my favorite tutorials from ParkTool. I have no relationship with ParkTool whatsoever, but their tutorials are great, and suitable for complete beginners.
Content:
- 1. What bike do I need?
- 2. Don’t let your brake pads wear out
- 3. Basic and cheap maintenance: new chain
- 4. Upgrade for steep terrain: cassette
- 5. Upgrade for better grip: tyres
- 6. Upgrade for more comfort: saddle and grips
1. What bike do I need?
Any bike will do just fine. In my opinion, the best bike for bikepacking is the one you already have. And the simpler, the better: you will save money at the beginning, but also in the long run because the replacements will be cheaper and easier to find wherever you find yourself in trouble. Not only that, you will be able to fix most of the issues alone or with minimal support from literally any bike shop on Earth. You might have heard that you should buy a gravel bike because they are fast and light. But let’s be honest: the difference in weight will be absolutely negligible if you compare it to the weight you will be carrying (try to carry less instead!), and the speed is not that important in a bikepacking adventure. There are some solutions to that as well though: get fit or let the route get you fit 😉
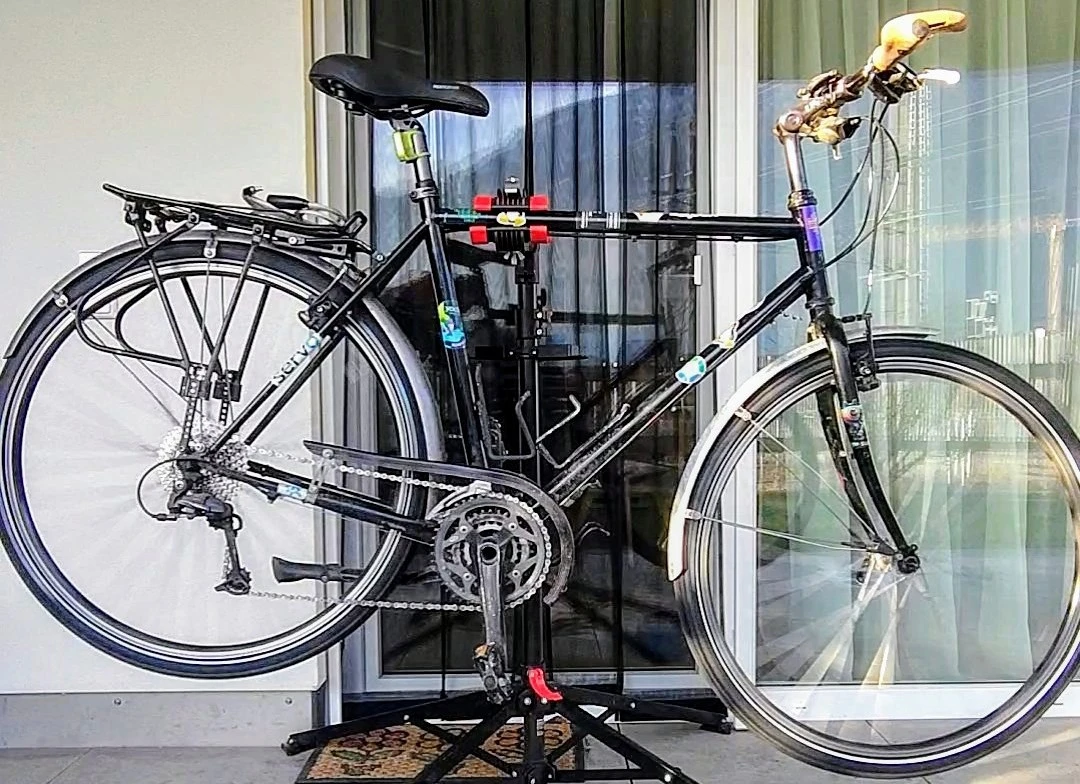
As I said in previous articles, my bike has no known brand, and it was found in a dumpster. It has 28” 🇬🇧-tyres (or 🇺🇸-tires, as you like), 3x9 speeds, and Shimano (the most common manufacturer for cycling components, but any other common mark like SRAM will do) shifting/braking components. My brakes use the good old V-Brake technology (cheap, easy to fix, minimal maintenance required) with regular cables and no oil or anything that could make my life noisier or more complicated. I have nothing against disk brakes, and I know that they have multiple advantages over rim brakes. But I just want to make clear that you can live without them, and that should not keep you from bikepacking. As long as you keep them in good shape, even other rim brakes like Cantilever (I have had them until a couple of years ago without major issues) should be good enough.
By the way, there are different quality levels in Shimano (SRAM, whatever) parts, but basically, any of them will do fine: some will be slightly heavier, some will need more fine-tuning, that’s it. Mine belong to the Deore XT groupset (the one it had on it, I did not choose it). Apparently, it is a good one, but I upgraded Rebecca’s bike (which has a Deore groupset) with the same approach, and I got the same results. Probably more marketing than anything else!
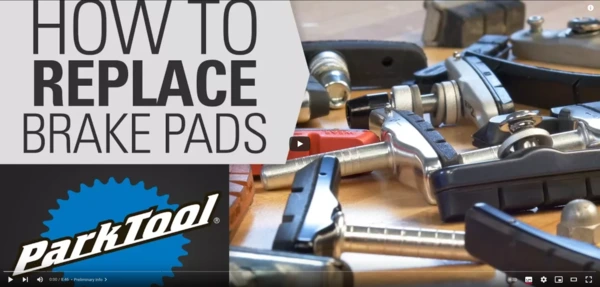
2. Don’t let your brake pads wear out
This is just common sense: your brakes MUST work fine. But people tend to forget that the pads wear out, and they should be replaced. If you wait too long to replace the pads, your braking performance will drop drastically, which can be extremely dangerous. This is especially true when bikepacking due to the extra weight of your gear, which puts more strain on your brakes. If your brakes partially work under normal circumstances, they won’t work at all under heavier loads, let alone downhill! I can tell because I have let my pads wear out many times 😆 After replacing them, the braking experience was much better: quicker response and less lever travel.
It might be worth mentioning that in some cases, your brakes will not work properly because the cables are not in good condition (the same might apply for shifting issues!). That’s yet another cheap replacement that everyone can do on their own with some patience and motivation. But if they look ok and move freely within the housings, they will probably be ok for many kilometers.
Required tools: a multi-tool that includes Allen keys (they all do). I like the ones that include a chain breaker, not only because you might need it in the field (probably that will never happen), but also because you will have it with you when you replace your old chain with a new one.
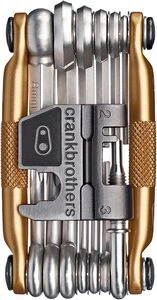 Buy on Amazon: Multi-tool with chain breaker
Suggested parts: regular V-Brake pads, nothing fancy.
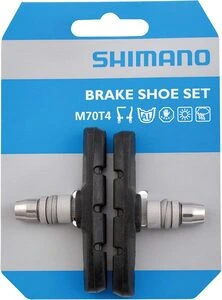 Buy on Amazon: Shimano brake pads
Video tutorial:
3. Basic and cheap maintenance: new chain
Try to keep the chain in good condition, because otherwise, you will have to replace more expensive parts like chainrings and cassettes. Chains wear out like any other moving part of the bike, but fortunately, they are cheap (~$10) and easy to replace. When should you replace it? There is a cheap and simple tool for that: a chain wear indicator.
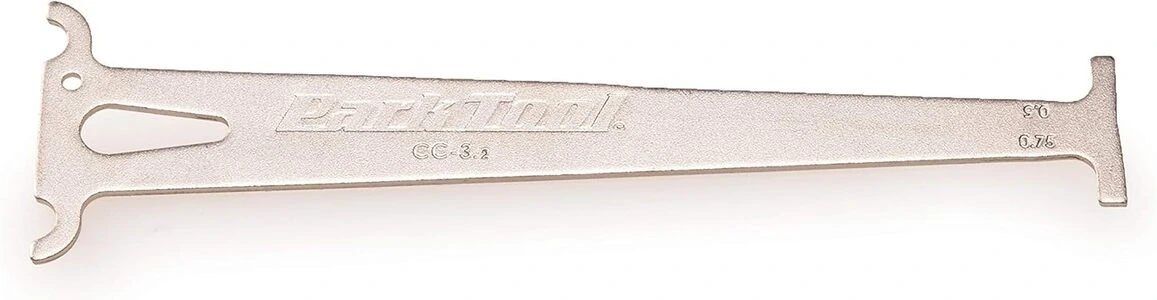 Buy on Amazon: Chain wear indicator
Place it on the chain and check if the tip marked with the biggest number (usually 0.75 or 1.0) gets all the way into the chain. If it does, you should replace your chain immediately because it is completely worn out and already wearing other parts. If it does not, try the smaller number (usually 0.5 or 0.75), and again, if it fits in, your chain should be replaced relatively soon. Keep it in mind and do it whenever you have time. And if none of them gets in, keep on pedaling!
There are only a couple of important factors to consider when buying a new chain: the number of speeds (i.e. cassette sprockets) to have the right chain width, and its length (number of links, usually 114 to 118). For example, my cassette has 9 sprockets, and I bought a 9-speed chain with 116 links because I wanted to replace my cassette with a bigger one (more about that soon). The chain brand will not matter much, and the weight (a few grams more or less) either.
Required tools: a chain breaker. As I said, I like multi-tools that come with them, so I don’t need an extra tool for something I will seldom need.
Buy on Amazon: Multi-tool with chain breaker
Suggested parts: a regular chain, just make sure that the length and number of speeds are the right ones. Here’s an example of a 9-speed chain like the one I am using on my bike:
 Buy on Amazon: Shimano HG93 9-speed chain (116 links)
Video tutorial:

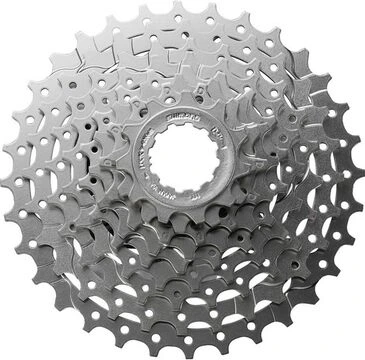
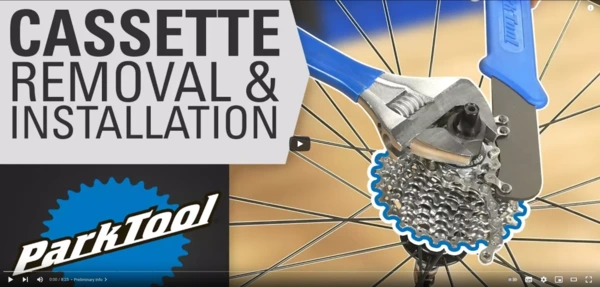
4. Upgrade for steep terrain: cassette
Most regular bikes with ~9 speeds come with cassettes that have an 11-tooth smallest sprocket, and a 30/32-tooth biggest sprocket. That is fine for normal use, but sometimes a bit short for bikepacking and/or steep terrain. In that case, you can opt for a 34/36-tooth biggest sprocket, which will help a lot. I am going to tell you a secret: you will eventually miss yet another sprocket with a few more teeth, no matter what you installed 😉
I switched from 32 to 36 and the difference is bigger than I expected. If you switch, and to keep some balance (the derailleur has always range limitations, check yours online!), I would recommend you to get one with a 12-tooth smallest sprocket because you will seldom change to the smallest sprocket anyway, but 12 will be a bit easier and it will last slightly longer. Something like [12-34] or [12-36] should be ok.
As I mentioned before, pay attention to the chain length, and try not to get the shortest one. It will probably work with the shortest one (usually 114 links), but you will be forcing the shifting for no reason.
Required tools: A simple cassette removal kit for your cassette (watch the tutorial!).
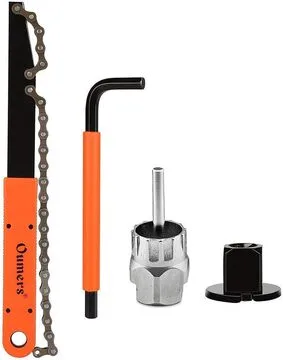 Buy on Amazon: Cassette Removal Kit
Suggested parts: A Shimano 12-36 cassette from a cheap groupset. The weight difference is minimal anyway!
 Buy on Amazon: Shimano 12-36 cassette
Video tutorial:
5. Upgrade for better grip: tyres
Another part that we all let wear out for way too long, sometimes until we are forced to replace it because it starts getting too risky (no grip, too many flat tyres!). If we replace them in time, we will actually save money on new inner tubes and/or patches, and we will be less prone to skid, which is not so much fun when you are carrying so much stuff 😅
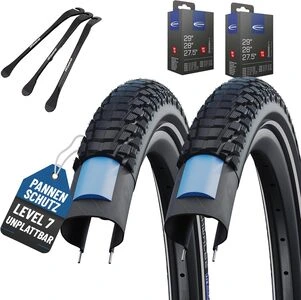
I tried to get good-quality tyres to avoid flat tyres as much as possible without breaking the bank. I opted for a (relatively thin) 1.50” tyre to be faster on the tarmac, with a pronounced tread to get more grip off-road. Yes, I know… that’s an attempt to get all possible advantages at once, which in reality is impossible. But I must say that I am happy with the result on all terrains! In the end, nothing matters more than your personal perspective 😂 If you want to have even more grip and less air pressure, you can go for the same model in 1.70” width.
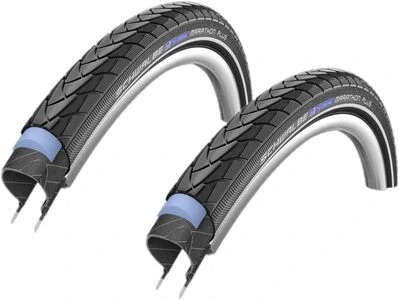
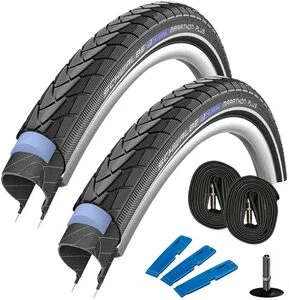
I have experience with different brands like Continental, Michelin, and Schwalbe, and even though all of them are pretty good, I have never seen more durable tyres than the Schwalbe Marathon Plus (Tour). The difference between the regular and the Tour version is that the latter has a more pronounced tread to increase grip. I got the Schwalbe Marathon Plus Tour 1.50” for the trip, but the regular version is also great. In fact, that is the one Rebecca will be using in 1.75”.
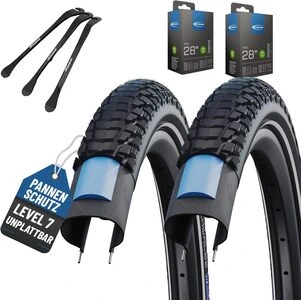
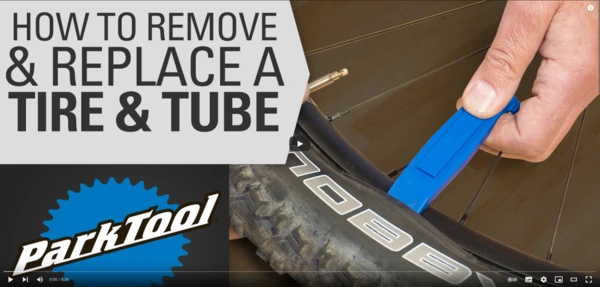
Replacing the tyres is rather easy, and you won’t need many tools, just the same as you would need to replace an inner tube. Such tools should be packed anyway, so get them asap if you don’t have them yet!
Required tools: simple tyre levers. They can be bought separately, but often you will get them when you buy a set of tyres or even inner tubes. They don’t need to have any special features, so no promo here: just get some cheap ones. I know, you could even use cutlery instead, but I have seen a guy pinch the inner tube with that approach, so I would not recommend it unless there is no better option.
Suggested parts: Schwalbe Marathon Plus (Tour) in 28 x [1.50”-1.75]”. Some “full kit” sets are not available in all countries, but if you can get them, they are great: they come with 2 tyres, 2 inner tubes, and the tyre levers to mount them for a reasonable price. As easy as it gets!
 Buy on Amazon: Set 2 x Schwalbe Marathon Plus 28 x 1.50
 Buy on Amazon: Full kit Schwalbe Marathon Plus 28 x 1.75
 Buy on Amazon: Full kit Schwalbe Marathon Plus Tour 28 x 1.50
 Buy on Amazon: Full kit Schwalbe Marathon Plus Tour 28 x 1.70
Video tutorial:
6. Upgrade for more comfort: saddle and grips
These upgrades are less critical than the rest as long as you don’t feel pain while riding your bike for many hours. I would recommend you to plan a day trip long before your adventure starts to make sure that the saddle and the grips are comfortable enough for you. It won’t be enough if nothing hurts after a two-hour ride, because that’s nothing compared to the amount of time you will be cycling every day during your trip.
Your wrists and arms should never hurt, but be aware that your butt will hurt at some point, almost for sure. The question will be if it hurts too much, and if a better saddle will help. Cycling regularly will help a lot, but if the saddle is a crappy one, replacing it will be a great upgrade.
I have talked about my experience with the original saddle (a very low-quality one) in this previous article, which convinced me to get a new one, again without spending too much. Just something normal, a bit wider and with a thicker cushion. Many bikepackers talk about the Brooks saddles, but I have never tried them myself. I find them a bit too expensive, but maybe you would like to give them a try. Apparently, they will hurt for a few hundred Kilometers until they get the proper shape, and then they will fit perfectly. In my case, a regular, cheaper one was more than enough to enjoy my rides.
Required tools: again, a multi-tool that includes Allen keys (and again, they all do).
Suggested parts: the saddle and grips I will be using on my bike. A soft, not-too-wide saddle for a reasonable price (NEXTCOVER, Trekking variant), and nice grips made of cork (and some rubber to improve grip and durability). The small horns are nice to switch your riding position from time to time, which reduces a bit the pressure on the wrists. If you can’t find them in your region (both come from Germany), you will probably find something similar from another brand.
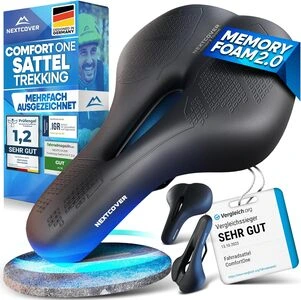 Buy on Amazon: NEXTCOVER saddle
 Buy on Amazon: AARON grips
Video tutorial: Replacing these parts is incredibly easy, you won’t need any tutorial 😉
Those simple and cost-effective upgrades will improve your experience a lot. After getting them done, you will be ready to spend as much time as you like thinking about the right pannier racks and bags for your needs, what to pack, etc., but knowing that the core element (the bike itself!) will be all set.
I wish you lots of fun while getting your bike ready for the next adventure!